
How to assemble a washbasin cabinet?
Sometimes it is impossible to buy a finished cabinet under the sink, for example, due to lack of money or when the sink is of a non-standard size. Do not rush to be upset, there is always a way out! Why not assemble a do-it-yourself sink from improvised means, especially since its cost will be much less than in a furniture store. Of course it is possible! How to do it? This is the question we will answer in our article. You will learn in detail about the basic materials for its manufacture, get a number of tips on how to assemble a cabinet for washing without contacting specialists.
to contents ↑What is a stand made of?
The cabinet for the sink can be made from fairly well-known materials, which we will discuss later.
Chipboard
Fiberboard is the most common finishing material for the manufacture of kitchen cabinets, and not only. Do-it-yourself cabinet from chipboard will be a great solution for you. In addition, chipboard is a rather moisture-resistant material, and some types are designed for the manufacture of furniture for the bathroom.
Important! A material such as chipboard is very cheap, but for a long service life, where it often comes into contact with water, it is not suitable. Be sure to check the quality of the plates - in their composition the amount of formaldehyde should not exceed the norm, otherwise it is unsafe!
Laminated chipboard
Laminated board is more suitable for the manufacture of cabinet furniture, especially since there are certain similarities with high-quality MDF. She is represented by a large assortment of various drawings. Most often it is an imitation of natural materials - wood and stone.
Important! Laminate coating is suitable for the manufacture of cabinets for washing, as such material is not afraid of moisture or high temperatures.
MDF
This is a leader among materials for the manufacture of various furniture for the kitchen. This material is a slab that is made of very fine wood chips under the influence of high temperatures by pressing. By its properties, MDF is far ahead of other competitors and feels great in the most extreme conditions. MDF is an absolutely environmentally friendly material that is not able to harm human health.
Important! The only drawback of MDF is its high cost, unlike other finishing materials, but believe me, in this case the quality justifies the price.
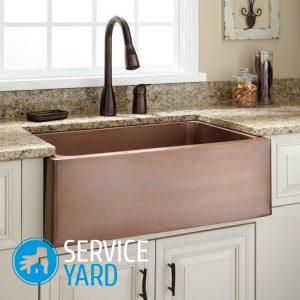
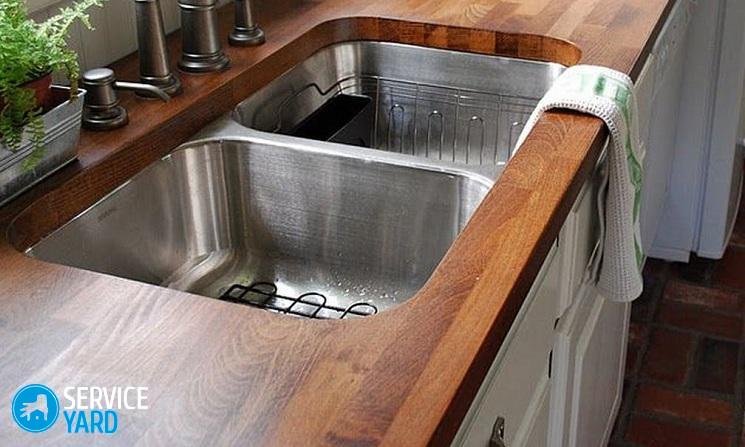
Stainless steel
You can make a cabinet for washing and stainless steel. This material is easy to use and allowed in the food industry, but has several disadvantages:
- slightly more expensive chipboard;
- with prolonged contact, water may rust.
Important! We advise you to choose stainless steel economy class number 202, it is much cheaper, as it is used in mechanical engineering. Due to its low nickel content, it has high mechanical and corrosion resistance.
Natural massif
If you have the opportunity to make furniture from natural wood, then be sure to use this option. Solid wood furniture is considered to be elite, and not everyone can afford it, since quite rare and expensive wood species can be used.
Such material is appreciated for:
- naturalness and environmental friendliness;
- a large selection of natural textures;
- the possibility of manufacturing small elements of various shapes;
- durability.
Important! There is also a flip side to natural wood - a high price, careful maintenance during operation, and a rather heavy weight of furniture.
After weighing all the pros and cons of all finishing materials, you can come to a decision which option is more suitable for you to collect the cabinet for washing.
to contents ↑Dimensions
Now we will deal with the dimensions of the cabinet under the sink. They directly depend on the size and shape of the sink itself. The execution of such a kitchen table is usually the simplest - the standard parameters are taken as the basis. In this way, it is easy to do the installation, because you need to manually cut the opening.
The width of a standard cabinet is usually 40-60 cm, but it can also be 80 cm, depending on the parameters of the sink used and the size of the kitchen unit. For example, if the width of the sink is 60 cm, then the width of the cabinet should be equal to its width minus the two thicknesses of the chipboard material - 60-16-16 = 28 cm. This applies to the length of the struts and the lower baseboard of the cabinet.
The back wall in this case is absent to discreetly hide communications. Inside such a cabinet you can place additional shelves and a place for a bin.
to contents ↑Important! An exception in such calculations are doors where the height remains unchanged.
Selection of components
Assembling a stand under a do-it-yourself sink is not as complicated as it seems.
So, first you need to prepare such materials and tools:
- Instructions for washbasin with dimensions.
- Plywood, sheets of particleboard, chipboard and MDF (you can use old disassembled furniture).
- Wood screws.
- Primer.
- Putty.
- Hinges on the door.
- Paint or varnish.
- Screwdriver.
- Pencil.
- Drill.
- Hacksaw or jigsaw.
- Roulette or centimeter.
- Level.
- Emery paper of different grit.
- Putty knife.
- Hexagon.
to contents ↑Important! If it is not possible to buy the necessary material, then you can use the old disassembled furniture for the manufacture of kitchen cabinets for washing.
How to assemble a washbasin cabinet?
Step by step, we begin to collect the cabinet under the sink:
- First of all, we remove the size and saw the material.
Important! As the main material, you can use a laminated plate. For the sides - chipboard, and for facades MDF is well suited. You can cover the front part with moisture-resistant paint, but the option with a self-adhesive film will not be very durable.
- In the next step, we begin to assemble the sink frame. Place a hole under the sink in the countertop and cut it out, given the small gap, approximately 4 mm on each side.
Important! In our case, a countertop is needed. If the sink is an invoice, then it is not needed.
- To clean and tint the edges of the chipboard, if the material has already been painted before.
- Next - apply the adhesive composition around the perimeter, install the sink, press firmly and wait for complete drying.
- After complete drying, we check the quality of work, remove the remaining glue, or - on the contrary, close up the missing gaps.
- After gluing, apply a moisture-proof sealant, wait for some more time, indicated on the package.
Important! To fix the sink, it is better to use silicone sealant - it is moisture resistant. In this case, two tasks are solved at once - the upper end face of the finishing material is sealed and the rigidity of the cabinet increases. Do not forget to smear internal joints and hard-to-reach spots.
- At the next stage, we install the finished countertop, fix it with self-tapping screws on the assembled structure, having pre-drilled neat holes.
- We paste special furniture edges on the edges of the fiberboard, taking into account the stocks, so that the edges protrude slightly. So we quietly hide the joints.
- If desired, additional shelves for detergents and a place for a bin can be installed in the cabinet.
Important! The cost of cabinets, shelves and drawers under the cabinet directly depends on the material used, dimensions and the presence of additional elements. Standard models will be much cheaper than custom-made products, which take into account the wishes of the customer and modified sizes.
That's all! The installation of the cabinet has been completed, and you can begin to install the sink.
to contents ↑Important! As a finishing material for this design, you can use wallpaper. They can be glued using ordinary PVA glue or other adhesive.
Installation difficulties
By and large, the task of how to install a cabinet under the sink is quite simple - most people do not pay enough attention to this moment.
When installing the nightstand, you can encounter a number of problems. For example:
- By acquiring such a design, it seems that everything has already been taken into account, but some inconsistencies appear during the installation process. You can, of course, go back to that store and replace the purchased furniture, but where is the guarantee that the same problem will not arise again?
- Many simply lay the sink on top and forget that it needs to be fixed in order to give the cabinet an extra stiffness, since an unsecured sink leads to further loosening, and then to the breakdown of the cabinet.
The main recommendations for installing the cabinet under the sink in order to avoid possible problems:
- This type of furniture should fit snugly against the wall, but there are times that a sewer element or other factor interferes with this. In this case, it is necessary to make preliminary measurements, make the curbstone fit, bringing its location in accordance with all the nuances of your kitchen.
- Sometimes it is possible to detect the absence of holes for fastening, so check on site all the necessary components of this design.
- Assembling and installing the nightstand under the sink must be extremely accurate, since a slight skew can lead to improper operation of the doors, and afterwards to their final breakdown.
- You should also pay attention to the quality of the wall. It may turn out to be light, and the sink may be heavy. For example, not every wall can withstand a stone shell, no matter what fixtures you fix it. In this case, there is a solution: the cabinet and the sink can be fixed separately from each other, but you will need special attention and accuracy of the work.
- If we talk about the financial side, then it is up to you how to assemble a curbstone for washing. You can call professional masters or independently deal with this issue. Sometimes it is better to turn to professional craftsmen to save your time, money and get a high-quality and reliable design.
Stock footage
As you can see, assembling a cupboard for a sink is quite real and not so difficult. If you do everything right, then it will not differ from that presented in the store. Do not be afraid to try to do such work yourself at home. Do not forget that everything comes with experience!
- How to choose a vacuum cleaner taking into account the characteristics of the house and coatings?
- What to look for when choosing a water delivery
- How to quickly create comfort at home - tips for housewives
- How to choose the perfect TV - useful tips
- What to look for when choosing blinds
- What should be running shoes?
- What useful things can you buy in a hardware store
- Iphone 11 pro max review
- Than iPhone is better than Android smartphones