
Sew a textile teapot - scheme and pattern, master class
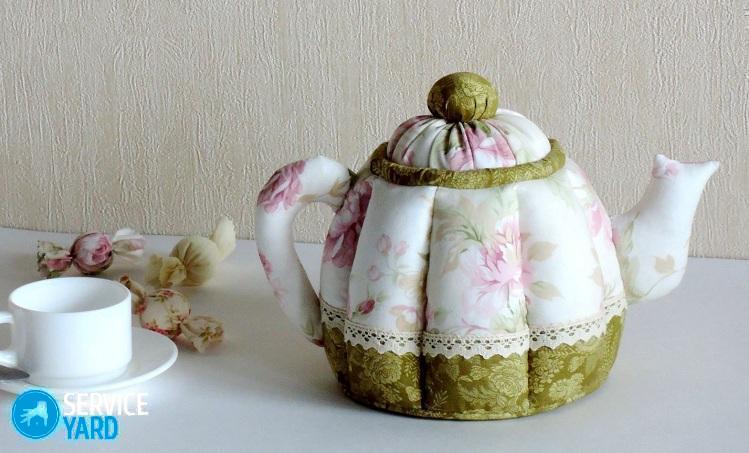
A cute teapot made of textiles will decorate any kitchen. It can be used to store chocolates and tea bags. This article is a detailed description of how to sew a textile teapot (pattern and pattern, master class). In any case, the kitchen will look fun and unusual if you decorate it with such homemade little things with a unique design.
to contents ↑Materials
For work you will need:
- Cotton fabrics: for the inside and outside of the product.
- Material for stuffing (synthetic winterizer is best suited).
- White lace.
- Corrugated cardboard.
- Cotton white textile.
- Felt in two colors - white and pink.
- Brown linen fabric.
- Thick embroidery threads.
- Glue spider web.
- Twine for decor.
- Hot glue.
How to sew a teapot from a fabric? Step by step:
- Make a paper pattern. Transfer it to textiles with allowance for seams.
- Cut side parts from two varieties of textiles.
- Sew together 4 parts in the form of a book. Fold in the front parts inward two outer sides. In the same way, fold the inside parts and 2 internal parts together. The result is a design that looks like a miniature tent.
- Moving from right to left, sew on the remaining parts. In the same way, align the sidewalls with the front parts inward.
Important! Do not forget to make incisions so that the product can be turned out.
- Combine all the wedges into a single canvas, then connect. First sweep by hand, and then sew on a typewriter. Turn on the front part.
- Now make the bottom for the teapot. Use a round plate of suitable diameter as a pattern. Cut a circle for the inside, sew to the base.
- Fill the rollers that form the body of the product with a synthetic winterizer.
- Cut the round part from cardboard for the bottom, as well as another 2 round parts: from synthetic winterizer and the material used for the outside.
- Sew the textile part manually. Insert the cardboard and sintepon parts inside. Pull off.
- Sew the base and bottom part with a blind seam.
- For the neckline, cut a strip of fabric with a width of approximately 35 mm and slightly larger than the diameter of the neck of the product. Sew the trimmings by hand, not forgetting the creases in the corners.
- Insert the synthetic winterizer tab and sew on the inside.
Cover making
To make patterns for a textile teapot, find a mug that is suitable in diameter. Cut round parts from different materials:
- Corrugated cardboard - 2 pcs.
- Sintepon - 1 pc.
- “Inner” textile - 1 pc.
- “External” - 1 pc.
Important! Indent more seams.
Operating procedure:
- Sew and stitch in the same way as the bottom.
- Fill the top half of the lid with a padding polyester.
- Join 2 halves and carefully sew together with a secret seam.
- Cut out parts for the nose and handles, make cuts. Stitch, stuff the padding spout and pen. Cut a circle for the “handle” onto the cover. Draw a circle, fill it with a padding polyester.
- Sew the handle to the cover.
- Gently, with a secret seam, sew the nose and handle to the finished product.
How to decorate a teapot with your own hands?
Cut a felt label, decorate with lace and linen applique. Glue all elements of the application with hot glue. Sew or affix the label to the finished product. An interesting and original decoration for the kitchen is ready.We hope that you liked the master class on how to sew a teapot from a fabric with your own hands.
to contents ↑Cup and saucer
So, a soft-teapot is available, but not a cup. The mess. You can make a soft textile cup according to the same principle as making a teapot. Cut out the wedges for the front and the inside, stuff with a synthetic winterizer, and sew the gaps manually with a “machine” seam. Now it remains to grind the bottom and sew the handle, made according to the already familiar technology.
The saucer may be round, rectangular or complex in shape. It is based on 2 fabric parts, with a layer of rolled synthetic winterizer or non-woven.
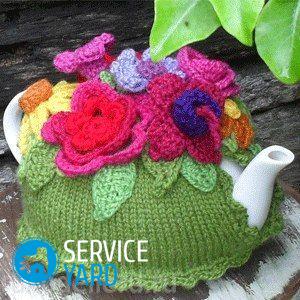
to contents ↑Kettle Warmer
This is not just a beautiful thing for the kitchen, but also very useful. Now the tea will not cool longer. Making it yourself is very simple. Even a novice dressmaker with a certain effort will cope with this task successfully.
So you will need:
- Textile.
- A piece of non-woven fabric.
- Scissors.
- Ruler and pencil for marking.
- Band for decor.
- Pins
We make a heating pad so that it is freely worn over the teapot. The width of the finished product is the distance from the spout of the kettle to the edge of its handle.
Important! Take a little extra so that you can easily put on and remove the heating pad.
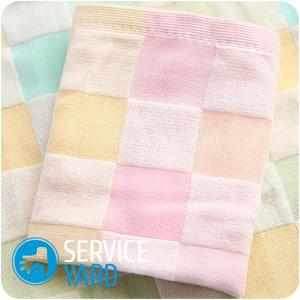
Each side of the product is 2 textile parts with a non-woven interlayer:
- Chip off the pieces with pins, quilting them along oblique lines. Draw the lines on the ruler. First, mutually parallel lines, and then perpendicular to them. Select stitches for the tone of fabric.
- Make the second part of the canvas the same way.
- Fold both halves, stitch them on the sides.
- Cut 2 parts for the inner liner, sew.
- Now fold the inside into the front. Having bent the material inward, sew and draw the bottom.
to contents ↑Important! Leave in the center of the non-sewn area about a centimeter. Insert a loop made of braid into it, sew the hole manually.
Stock footage
Having mastered this simple master class, you can sew a heating pad on a kettle of a more complex shape - in the form of a dog, cat or bird. Good luck with creative ideas that will help make the kitchen the most comfortable and beautiful.
Report typo
Text to be sent to our editors: